Showing posts with label die cuts. Show all posts

Wednesday, 22 May 2019

WOYWW 520 - we're 10 - happy birthday us!

It's here, What's On Your Workdesk? Wednesday, week Five Hundred and Twenty.... started 10 whole years ago with an innocent question by our leader and friend, Julia - at Stamping-Ground..  
A big, big thank you to Julia for keeping it going through good times and bad...
People have dipped in and out, and back again.   We have laughed together and cried together and - importantly, I feel - eaten cake together!

So. what's on MY desk this birthday week?

new stuff, obviously...

. I've always had trouble finding the first week I joined in with this lovely group, as back in the day I was a very novice blogger (with a film camera, how hard was that to get photos ready in time!)  and didn't label my posts... but fairly close to the beginning I think.

And, as you know, those of you who've been on this "journey" with me, for "quite a few" of those, there has been new stuff on show!!
I test cut the lace - this is go number 3 the first two were a failure - despite using wax paper and multiple passes through my big shot, it wouldn't release from the card - the first card was way too thick, the second a bit thinner and more successful, but an added layer of card under the cutting plates finally worked!

I have done something with this, but it's on it's way somewhere and I can't reveal it yet.


I took the idea that Angela had used on a card, with the flowers, and converted it into a journal page - only because I had a test cutting of them and wanted to do something with them


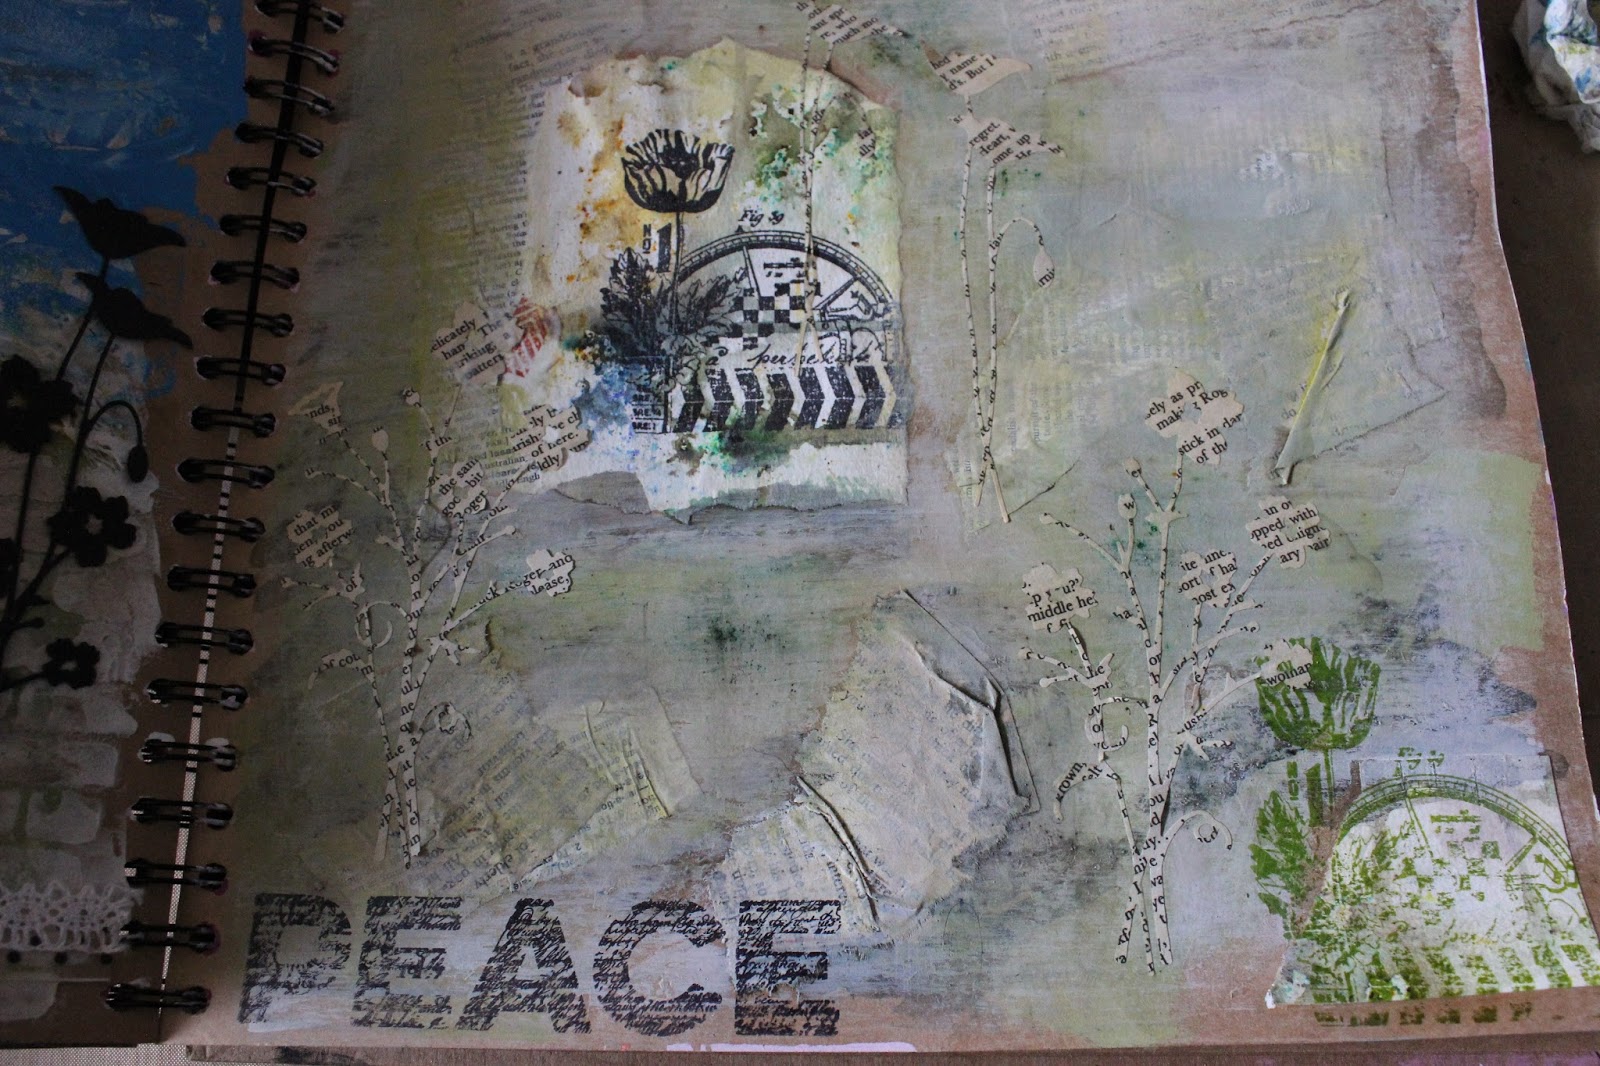
the background is a mixture of distress oxide sprays and inks and the stamp is a Paperartsy one, from one of Courtney's leaf sets.


I have been dithering about whether to share the atcs I have made for the swap, or leave them till they are received... as this anniversary post is already quite long I think I'd better leave it here...  I should have enough for everyone at the crop (not sure how many are going) but I think I'll have some leftover so if you're not going and would like to swap let me know by email and I will see what I can do.  I know we are meant to get them in the post immediately but I'll be at work when most of you read this and don't do email on my phone so won't be able to read your email with your address so there'll be a couple of days before I can dispatch them.  (especially if I have to go to the post office to buy "foreign" stamps - I don't always get out of the office at lunchtime and the post office is not close to the office but they'll go as soon as I can)

So once more with feeling, thank you to Julia for keeping this going, and thank you to everyone else who has dropped by to say hi and share your desk, and for making Wednesday such a FUN day of the week! xx   oh and yes, there was a Kew post - longer than ever - last Saturday

Friday, 2 February 2018

ALAD/ASAW - week 5 - Darkness has it's beauty

Hi, still keeping up with the fabulous daily/weekly challenge for France Papillon's FB prompt.
This week, the prompt was "Darkness has it's beauty" and you could either go darkness as mood, or darkness as colour.

I kind of went the colour route.
 I started over my gesso'd background with Izink pigment ink, (colour is Iris, a beautiful deep rich blue) applied from the pipette across the middle of the page - I dripped it up and down a little, and then dragged the ink with the pipette
 to create slightly longer streaks of colour.
I did this stage last Saturday evening after watching Casualty (a hospital drama in the UK if you don't know) - I think it looks like a heart monitor! 


 next day, layer two,   I added some die cut claw marks - a Tim Holtz die that I hadn't used before (personal 2018 challenge, use stuff - tick!)

and laid them across the inky streaks
 day 3, layer 3.   A bit of an in-joke with my friend Lesley here, as she has lost her sari ribbon and we'd been talking about where it might be.


I dug mine out and rippled it (stapling with Tim Holtz tiny attacher) and glued it to the middle of my page.
the matte medium I used to attach it took a while to dry, and has lightened some of the blue bits of the ribbon.  but I quite like it...

Day 4, layer 4, Stampotique image, stamped on cardstock and coloured with blue and purple Stabilo felt pens

Fixed him with 3d pop dots to sit on the ribbon.


 Day 5, layer 5 - I mixed some Midnight Fresco paint (Paperartsy) with 3d matte gel, and applied it through a stencil (mini tile texture, by the Crafters Workshop)
Day 6 layer 6. 
day 6 was originally going to be text but I decided the pages needed bordering (Cobalt and Black archival inks, and Faded Jeans distress oxide) so I did that first, with a blending tool.


Must have been a very old piece of foam on the blending tool as it disintegrated on me, and had to be replaced!


 day 7, layer 7
my text, my page title.

a quote from Alison Bomber set EAB02 for Paperartsy

stamped and layered on black card and cut into individual lines
 and placed on the page

it reads
I wish I could show you
when you are lonely
or in darkness
the astonishing light
of your own being

fabulous quote!


I really love this page and hope you do too!

looking forward to the next prompt tomorrow

Sunday, 14 January 2018

Another Journal Page - Appreciate Beauty

When I was using the modelling paste for my ALAD/ASAW journal page, I wiped some excess on my square journal (that I'm loving)

Yesterday was time to add to it. 
I thought I'd taken a picture of just the stencilled background, but hadn't.   I sealed it with clear gesso as I didn't know then what was going on top, but didn't want the colour to soak into the paste.

The colour is Portfolio pastels, chosen randomly
 I blended the colours with a baby wipe, and then spritzed the page with water and dried it.

I loved the reaction of the portfolios over the paste
 but it was bright, so I added a coat of white gesso, using not the brush in the picture but my Prima silicone brush.


Stencilled the wildflowers with Paperartsy Little Black Dress paint - Tim Holtz stencil (the big one, not a layering one)


Created a Distress Oxide background on Paperartsy Smoothy card - various bright flowery colours.

Die cut the TH wildflowers
Over the journal, I stencilled (Crafters Workshop) , ringlets stencil in blue and green distress oxide, but it doesn't show up much
so used a stencil brush and pounced some blue and green on as well.

Spent ages gluing the diecuts onto the background, getting very sticky in the process.
Added a border of walnut stain and black soot DO ink to the page.

 sound some TH Big Chat stickers for my title/quote and outlined it in a black ecoline pen


Finished page


Wednesday, 22 November 2017

WOYWW 442

slowly slowly....

unlike the weeks which are rocketing by, it's time for another WOYWW already!  Not sure who's stealing time but can I have some back please... Head to Julia's for the link and the whys and wherefores

anyhow, as I was saying, slowly slowly, the pile of cards is growing..
 but I am still not really in the mindset so where my evenings should be hard at them, instead they are .... not.


on some of the cards I've used some die cut words (a Tim Holtz die)


 so on Sunday I spent a while forcing the dies through the Big Shot - forcing because I was trying to do lots of them at a time, filling cut cutting platform, but that was a false economy because they wouldn't all cut fully.

eventually I got a few each of the words I'll use more of, and one of the others just so I have them...

I found a little box to store them in


But, as it is "desk" sharing day, I'd better share today's view... well, obviously it's Tuesday night's view..

took a 'vertical' view ... last year's favourite Grumpy Penguins are making a re-appearance as I love them.
balanced on the pile of texture paste pots is a card tht was left to dry (it's well dry now!)

to the left of the tv (Strictly, It Takes Two)  is the pile of cards


to the left of the craft mat and the penguins, are the boxes of everyday supplies that have now got rather over full and cause a tumbling mess when I look for anything (foam pads, glue, being the main culprits)


Thanks for stopping by and I'll be round soon! 

Saturday, 4 June 2016

Catching up with Wanderlust

I am on top of watching the weekly video lessons but not putting paint or ink to paper... I have two Wanderlust book prompts for you today, weeks 8 and 9 (I am not going to do them out of order..)

Week 8, the prompt was "my future"... I freely admit I am finding the "prompts" extremely vague and hard to find inspiration... however, this is my future.. "Anything is possible, right"
 I applied a layer of heavy white gesso on the journal page and spread loosely with a palette knife, then added Frescos China and Zucchini, spreading them with the knife too, to give an uneven coat of colour. I liked how the white shows through.
I dribbled some Infusions across the middle, spritzing with a very little water.  Added a line of fluffy blue/white fibres and some lace, fixing it with some soft paste. Smeared some coarse texture gel above and below, and let it all dry.
 Spread fibre paste through a brick stencil (Crafters Workshop) and mixed Mudsplat and Cinnamon Fresco and dry brushed the bricks.


added some more fibres at the top and a ribbon and more lace at the bottom, added some script stamping (Paperartsy Mini 61) in a toning blue and green, so that the script barely shows, stamping randomly without a block.

My focal point is the  black die cuts (Memory Box dies, I love both of these, the Prim Poppy and one I've had ages but never used before, Bella Bouquet.
 the title is another Paperartsy stamp, from a Sara Naumann set.  My Future - Anything is Possible, Right?  well, we'll see.

The inspiration for the mechanics of this come from Alison Bomber's beautiful project here


Prompt 9 was "What am I most grateful for"  another one that is meant to get us thinking but it's not the kind of introspection I do... so I just used some new stamps and some old scraps (got to get rid somehow...) and this is the result. "Peace"
I starting by tearing an old dictionary page into random pieces and also an old book page, glueing them to the background.  Had some watercolour paper I'd been playing with Infusions on, and a new Paperartsy stamp, added that too
 added some Zucchini Fresco, some infusions, spread them around a bit with the paintbrush and some added water,then added more paint, think I used Mushroom, Chalk, Limelight and Chartreuse  In between some of the paint I used a dry brush with gesso, I didn't want anything too bright.
when I'd been die cutting the flowers on the other page I had done some in book paper, these are very flimsy but I added them to the page too.

The title is from a Paperartsy set, stamped in black archival top and bottom corners

I also added the stamp from the watercolour paper in Leaf Green archival, at the bottom

only two more book prompts behind now... and a "few" lessons...


Sunday, 26 July 2015

Crazy Birds!

So, as you may have seen on Wednesday, I was expecting the Crazy Bird die set to arrive... and it did.  lots of little pieces, beaks and eyes and wings.. as well as the actual bird shapes... So on Friday I eventually sorted them out and matched them up.. and cut them...

It's a fair bit fiddly lining up the die with the stamped image (and keeping it in place when you put the top plate down on top, so you get them cut properly (legs, especially)... I think I'll treat myself to the magnetic platform for the Big Shot which apparently helps lots ( this may be a cunning sales ploy, but I somehow think it will help!)

This is what I used them for first time out.
 some white bits showing between the legs as you see... used my Inktense pencils to colour them in some crazy colours...

used bits of 3d foam pads to add the wings and beaks and eyes to the bodies.... ( swore quite a lot at this stage!)
 decided on a double page spread, painted with gesso first, then Dolphin, a Deco Art Satin paint.. not used this before, was surprised how thin it seems when it comes out of the bottle..

gave it a good shake though, and it seems to cover quite well.

Stencilled Prawn Fresco through the Finnabair circles stencil, just round the edge.
Left the stencil in place and stamped in Watering Can, the large text-y background from HP1501

laid out the birds... made sure they were "grounded" either on a circle, or another bird...
did some background stamping with the honeycomb from JOFY30 also in Watering Can, just extending a little into the journal
 stamped Dina's sentiment in black archival, then glued the birds down

wanted a few more circles to match in with the stencilling, so inked the single text-y circle from HP1504 in Watering Can , and the row of circles in Prawn Fresco, over the stencilled areas.
had fun with this, not sure I'll be doing much layering with some of the beaks/eyes as they are so small and you need a teeny tiny bit of foam pad to fix them to the body... but I like them!!

Wednesday, 22 July 2015

Dragons Dream -Tag It On

Welcome to another challenge from the Dragons Dream team - this time, my talented teamie Elizabeth has chosen Eight.  Just use eight, the number, or eight of something, on your tag, and don't forget to use at least one real stamp.

I decided to use 8 flowers on my tag (which is a size ten, sorry!)
 I started by dropping a little Sage Fresco on the tag, and brushed it over the tag, leaving a few gaps and wiping some away with a baby wipe.

I added Butternut to fill the gaps and overlap a little.

Then took the criss-cross stamp from JoFY36 and stamped it in the leftover Butternut, and inked part of one of the large collage script backgrounds from HP1501  (hmmm no pic of this stage!) in olive Memento ink

my flowers are by Prima and are all orangey-pale green
I die cut one of the Tim thinlet dies from a piece of spare Paperartsy paper for the bottom corner, and laid out my flowers


 the central text is from HP1507 and is stamped on a piece of spare tag from something else, coloured with the same paints as the background, as is the 8, from HXT06


a few more 8's in the olive green I used for the script background to fill some gaps on the tag

some green ribbon from my stash finishes it off.

Hope you'll check out the pieces of eight (lol) from my team mates and we'd love to see you join in - you have 2 weeks.