So, France Papillon's A Layer a Day/a Spread a Week.
week 2, prompt was Visualise...my biggest dream for 2018.
Well I didn't do too much dreaming but I did visualise the spread at the outset of the week and only deviated a little bit from my plan!
Here are some step by step photos of the way it panned out..
day one, cut some patterned paper into strips... (a Prima pad from my stash... 2018 is the year of use it up!)
in hindsight (that valuable crafting tool) I would have varied the height more...
my initial inspiration was from the memory of one of France's Journal on Monday videos from I don't know when!
day two, stamped a Dina Wakley script in Potting Soil archival ink..
Day 3 where I thought it was going wrong... used the Melted Chocolate Dylusion spray, spritzing and dripping from the end of the tube... went a bit pinky as it dried...
did not like it much at this stage (but France did... )
anyway, onwards to day 4, layer 4...
Day 4, (which had been going to be day 3)
applied more strips of the same paper horizontally...
and this is what it looks like with the flash!
day 5.... stencilling. started out so well..
used an opaque white modelling paste (Finnabair's for Prima) was still nice and white whilst it was wet...
but of course what I hoped wouldn't, did happen - the paste in drying picked up the colour from the drippage/sprays underneath. and became pink....
but it's ok, there are no errors only lessons for the future...
and it seemed quite popular on the Facebook group...
look how pink it looks!
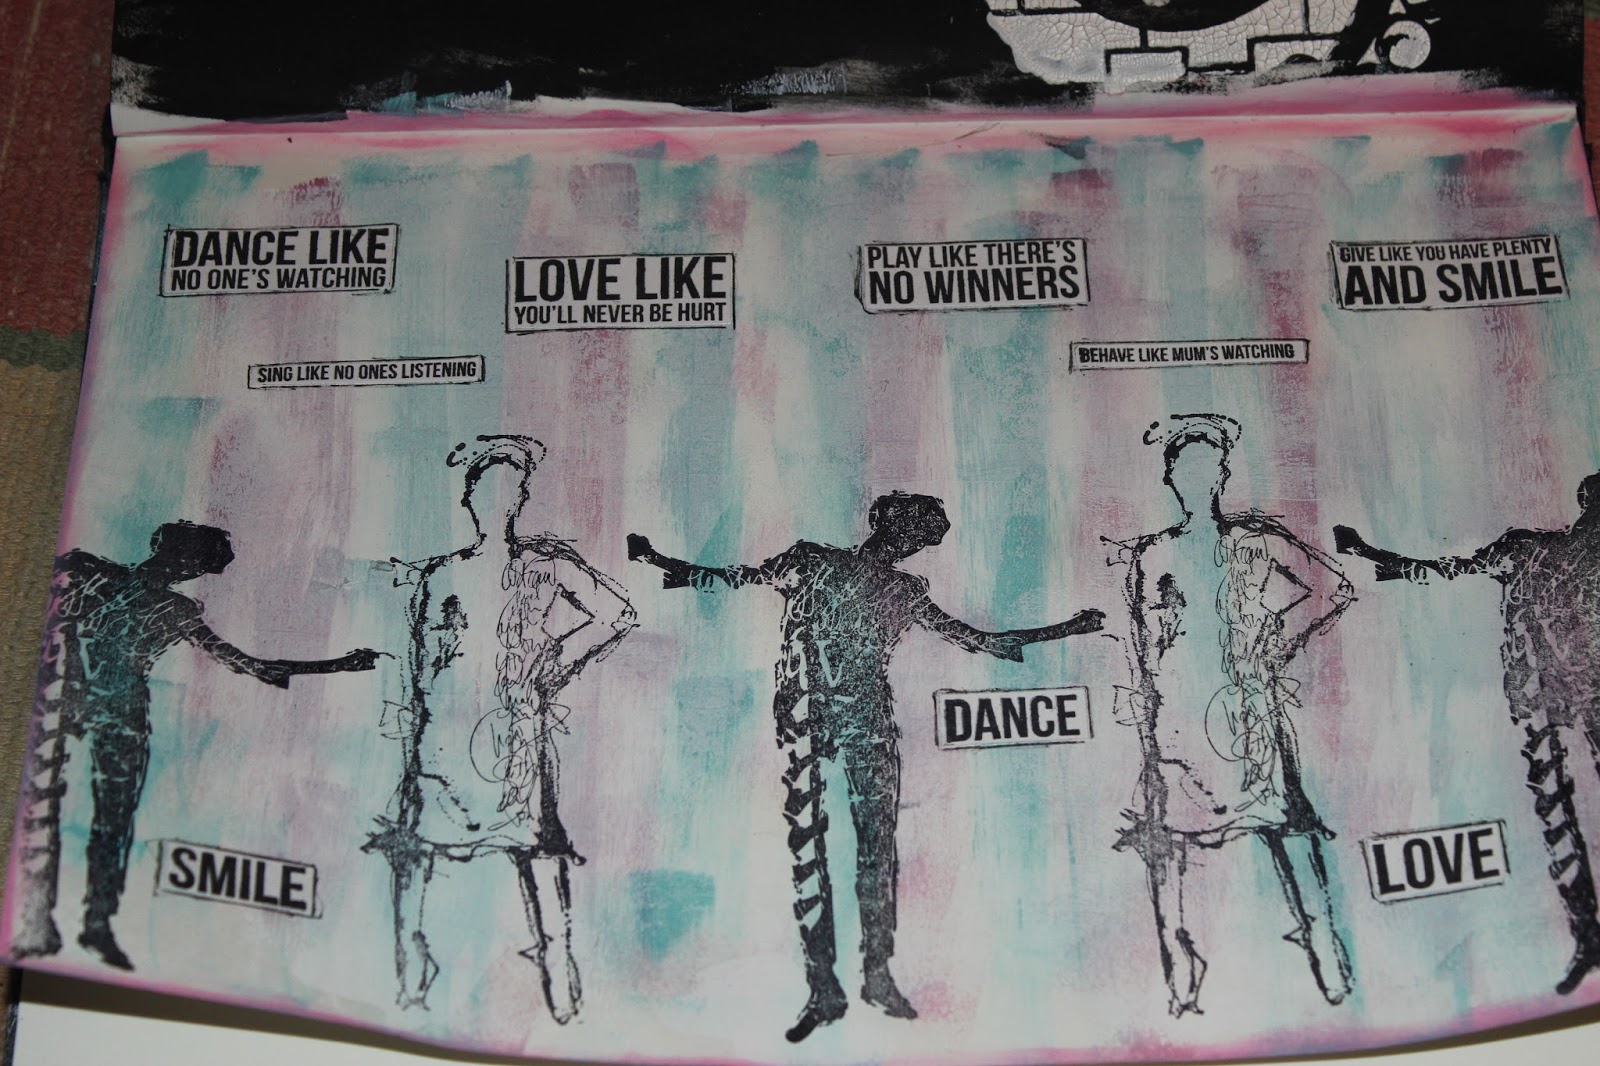
Day 6, apply a focal image... two, actually.
Tim Holtz paper dolls (2018 is the year of use it up... have had these months and months and these are the first ones I've used from the packet0
I sat the man on one of the horizontal paper strips to ground him, and the girls stood on the edge of the page...
day 7, final layer... splatters.
I was always going to add splatters.
after my issue with the paste on day 5 I was wary... but have splattered black and white acrylic paint ... it's still wet so we'll see what happens.. (it seems to be going a bit pink...)
and edged the pages in Black Soot Distress Oxide.
Week 3 commences today... we'll see what happens next!


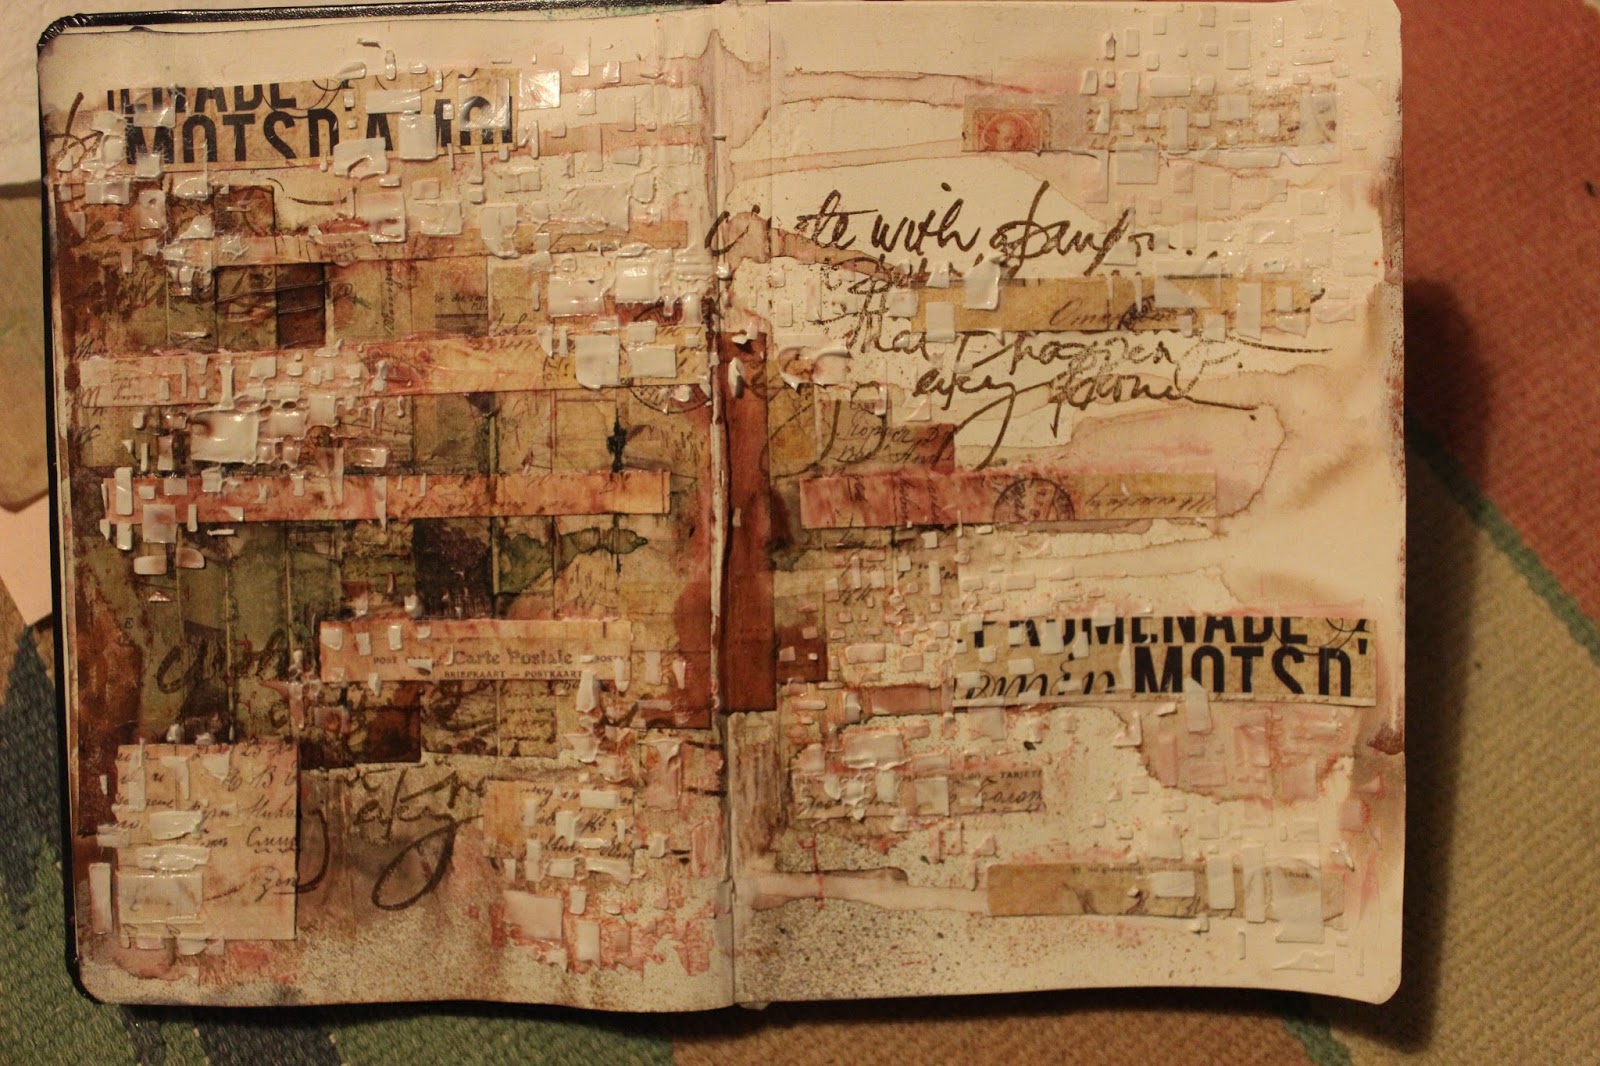


 as a bonus, you get to see the little journal page I did with Dolly and Little Dude the new minis from JoFY... such cute little fellas!